With every new Canva release, I’m just amazed at how much graphic design you can do without Photoshop.
Don’t get me wrong, Photoshop is an amazing tool…I just found early on that it is meant for people who are much more artistically skilled than I am.
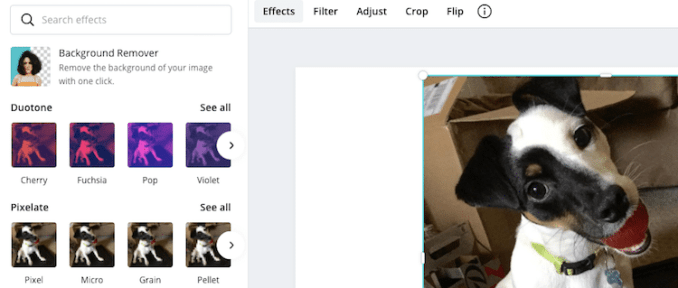
Anyway, I’m piling on the Canva praise because besides one-click background removal and more, there are a number of photo effects that can also happen with a click of a button. We are talking in less than a minute in many cases.
How to Create a Glitch Effect
To create a glitch effect, add your photo to your design either by uploading it, choosing it from your uploads section, or selecting from “photos.” Next, with the photo selected, go to “Effects.” Then, scroll down, and depending on the type of glitch you need, select one of the eight options from “Glitch” or one of the four options from “Slice.”
Here is an example of “Split” from “Glitch” and “Sliced” from “Slice.”

That’s it. You’ll notice in a matter of seconds, the photo will take on the selected effect. You’ll also see that after making a selection, you can click the settings icon for that selection and you’ll have options to fine tune your effect even more.
For instance, if you choose the slice option, you can add or remove the number of slices, adjust the offset positioning, or even play with the position of the slices up or down.
Here are the detailed instructions.
1. Add Your Photo
Go to “Upload Media” and then select the photo you’d like to add your glitch effect to either from your local device or cloud storage.
2. Go to Effects
With your photo selected, go to “Effects” near the top left of the screen. Here you will see a number of different photo effects to choose from.
3. Choose “Slice”
At this point, you can choose either “Glitch” or “Slice.” Given that people have different definitions of glitch, the actual “Glitch” effect might not deliver what you’re looking for. That’s why, in my opinion, the “Slice” option provides more of a traditional glitch effect.
4. Select Type of Slice
Now, you can choose from the following specific slice types:
- Chipped
- Sliced
- Minced
- Torn
With each, you’ll see they range from thick/few to thin/many.

4. Make Adjustments
At this point, you should see your photo take on the slice effect, and if it satisfies what you intended, then you’re done, easy as that. But, if the actual slices don’t deliver to your needs and specifications, you can make adjustments to fine-tune.
To do so, when you click “Slice” and then choose your type of slice, you’ll see a settings icon appear. Click the icon and then make your adjustments.

And just like that, you have a nice glitch or slice effect for your photos.


